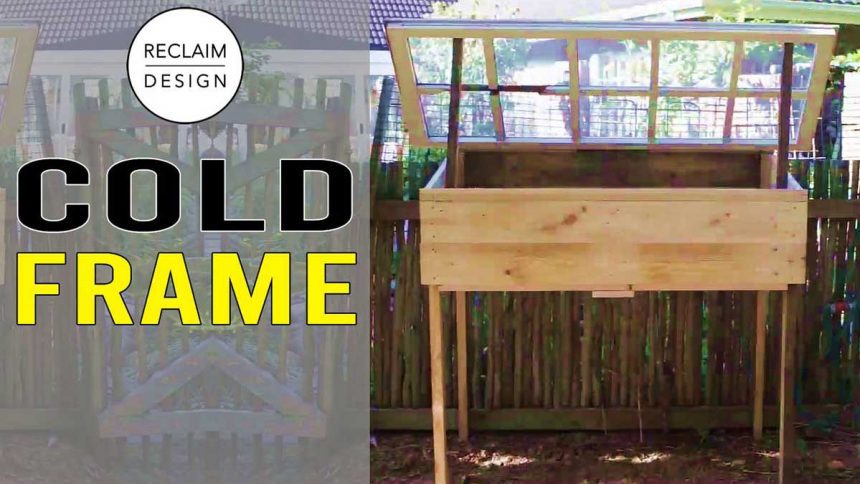

Building a small cold frame greenhouse using reclaimed wood is a fun and sustainable weekend project. Unlike other quick tutorials, this project requires time and effort. Expect to spend a full day on this project. Grab your favorite drink, sit back, learn, and enjoy the process of making it.
For a step-by-step video tutorial on how to build your own cold frame greenhouse using reclaimed wood, check out our video tutorials on YouTube.
Things necessary
Prepare various tools to streamline the construction process. Below is what I used, but feel free to adjust it based on what you have.
- planer/thickener
- table saw
- miter saw
- drilling machine
- Drill
- impact driver
- metal detector
material
We primarily use reclaimed wood for the project, but feel free to use any materials of your choice. Here's what we used:
- pallet wood
- reclaimed roof truss
- Recycled windows with intact glass
- plywood screws
- piano hinge
Stainless steel screws and hinges are ideal for outdoor projects like this, but due to COVID-19 restrictions, I worked with what I had on hand. Accepting constraints stimulates creativity.
Cold frame greenhouse measurements
- x back leg @ 110cm (43.31 inch) x 4.5cm (1.77 inch) x 3.5cm (1.38 inch)
- 2x Front legs @ 99cm (38.98 inches) x 4.5cm (1.77 inches) x 3.5cm (1.38 inches)
- 6x Sideboard @ 54cm (21.26 inch) x 13cm (5.12 inch) x 2cm (0.79 inch)
- 6x front and back boards @ 120cm (47.24 inches) x 13cm (5.12 inches) x 2cm (0.79 inches)
- 1x Backer for hinge attachment @ 120cm (47.24 inch) x 2.5cm (0.98 inch) x 2cm (0.79 inch)
- 1x Front lip @ 120cm (47.24 inch) x 3.5cm (1.38 inch) x 2cm (0.79 inch)
- 3 bottom plates @ 120cm (47.24 inches) x 13cm (5.12 inches) x 2cm (0.79 inches)
- 2x Gap Filler @ 109cm (42.91 inch) x 6cm (2.36 inch) x 2cm (0.79 inch)
- 2x Support @ 80cm (31.50 inch) x 3.5cm (1.38 inch) x 2cm (0.79 inch)
Step-by-step instructions
First, the reclaimed wood is run through a metal detector to remove any metal particles.
Use a table saw and miter saw to cut the roof trusses to size for the legs. Plane the board flat to ensure a uniform thickness, then use the table saw's jointer thread to straighten the edges of the board and cut to final size.
Cut the sideboard to length using a miter saw. Along the length of her two side panels at the top of the greenhouse he creates a 10 degree angle.
Cut a 10 degree angle along the top of the leg to match the reclaimed window.
Mark and drill countersinks for the screws on the board.
Fix the side plates to the legs so they are flush, then attach the back plate, front plate, and front edge in that order. Next, attach the bottom plate, leaving even gaps for drainage.
Reinforce the bottom plate with brackets if necessary and attach backers for hinge mounting.
Finally, attach the reclaimed window to the backer using piano hinges.
Why do I need a cold frame greenhouse?
Small greenhouses, also known as mini-greenhouses or micro-greenhouses, are ideal for growing vegetable seedlings. Especially in times like these, it's smart to reduce your trips to the store and boost your immunity with fresh, home-grown produce.
The greenhouse's compact size makes it suitable for tight spaces, and the waist-height design allows for comfortable access without straining your lower back.
Happy gardening!
About the author
Michael Martin and Nikki Rixon go into business Reuse designs In 2013. Subscribe to our YouTube channel Watch videos packed with practical advice, eco-friendly tips, and inspiration to live a more sustainable life.